Sync Quick Notes to Obsidian using Drafts and GitHub
Use Drafts and GitHub to seamlessly sync your fleeting notes to Obsidian using our step-by-step guide and some custom code. Download for free.
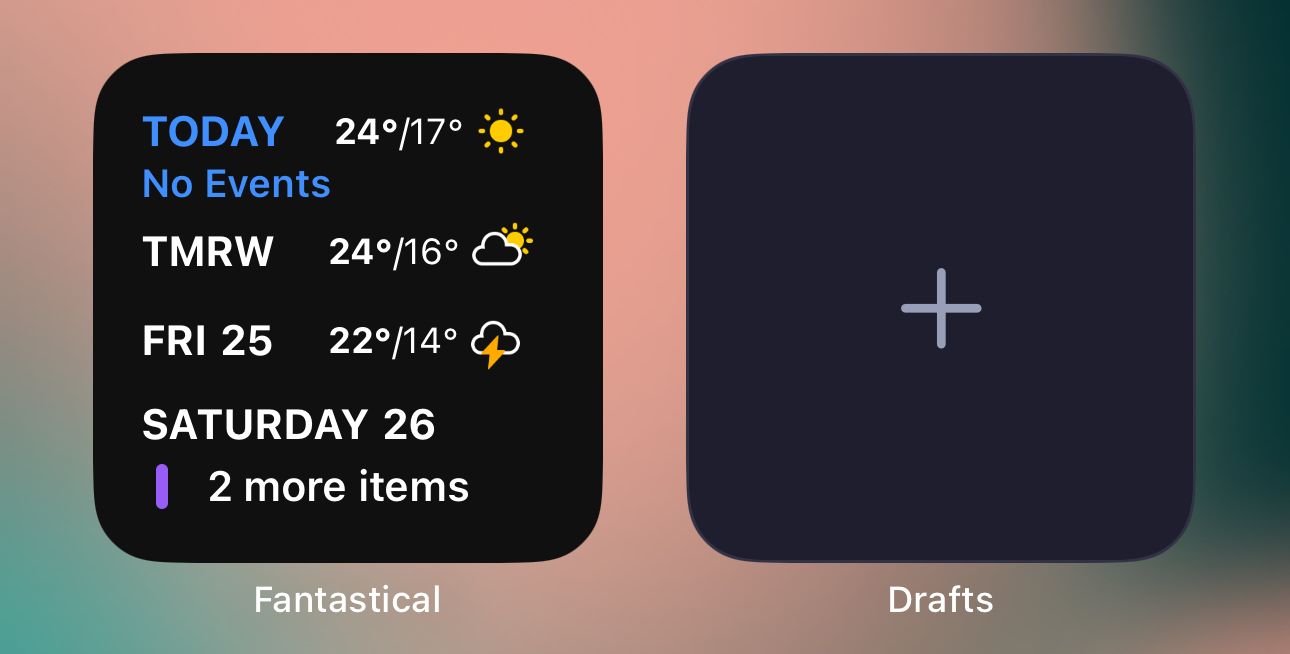
For a long time, Drafts has been one of the best iOS apps for working with plaintext due to its strong focus on speed and extensibility. I use Drafts every day– it has a dedicated spot on both my lock screen widget and on my home screen for quick entry. It's faster than Obsidian Mobile and more efficient than any iOS Shortcut for the core function of simply writing something really fast.
However, I wanted all of those notes to sync over to my Obsidian Vault, so I wrote a small script in order to do that, and I keep everything in sync using GitHub and Obsidian Git. Thankfully, Drafts supports all of this out of the box with Actions and a tiny bit of JavaScript.
Let's walk through the process.
What You'll Need
- An iPhone: Drafts isn't available on Android, though I am sure there are alternatives.
- Drafts
- A Drafts Pro Subscription: This allows you to create and edit actions, and is definitely worth the small cost.
- Obsidian
- A GitHub Repository for Your Vault
- Obsidian Git: If you have a repository already I'm going to assume you have this configured.
Once you've got Drafts downloaded, I'd recommend adding both the lock screen and home screen widgets on your device so that a quick note is just a tap away.
For new notes, Drafts has a built-in "cooldown" timer that you can configure under Settings → New Draft After that sets the limit on how long an existing note will stay "open" before a regular app launch will automatically open to a new note. Mine is currently set to 60s, which allows me to tweak my note if I want to add something else in the moment, but you can adjust this to whatever works best for you.
Keep in mind that if you're just using the widgets as noted above, it will always create a new note regardless of this setting.
Next, let's add the GitHub Action. Actions in Drafts allow you to manipulate the plaintext notes you create. We'll be using Actions to connect to our GitHub account, and pushing the contents of the note to the location that we designate. To get started, we'll want to ensure that we already have our Vault setup in GitHub as its own repository.
That being said, assuming you're already using GitHub, we'll have to generate a new token for the script to use. To do so, head over to your GitHub Settings via: Settings → Developer Settings → Personal Access Tokens → Tokens (Classic) → Generate New Token → Generate New Token (Classic) . You can use a Fine-grained Token as well, but since they're a little more involved, I'd just stick to a Classic one. Name the token accordingly, and ensure that the scope is set to repo, otherwise Drafts will not be able to write to your repo (or your Vault, in this case)
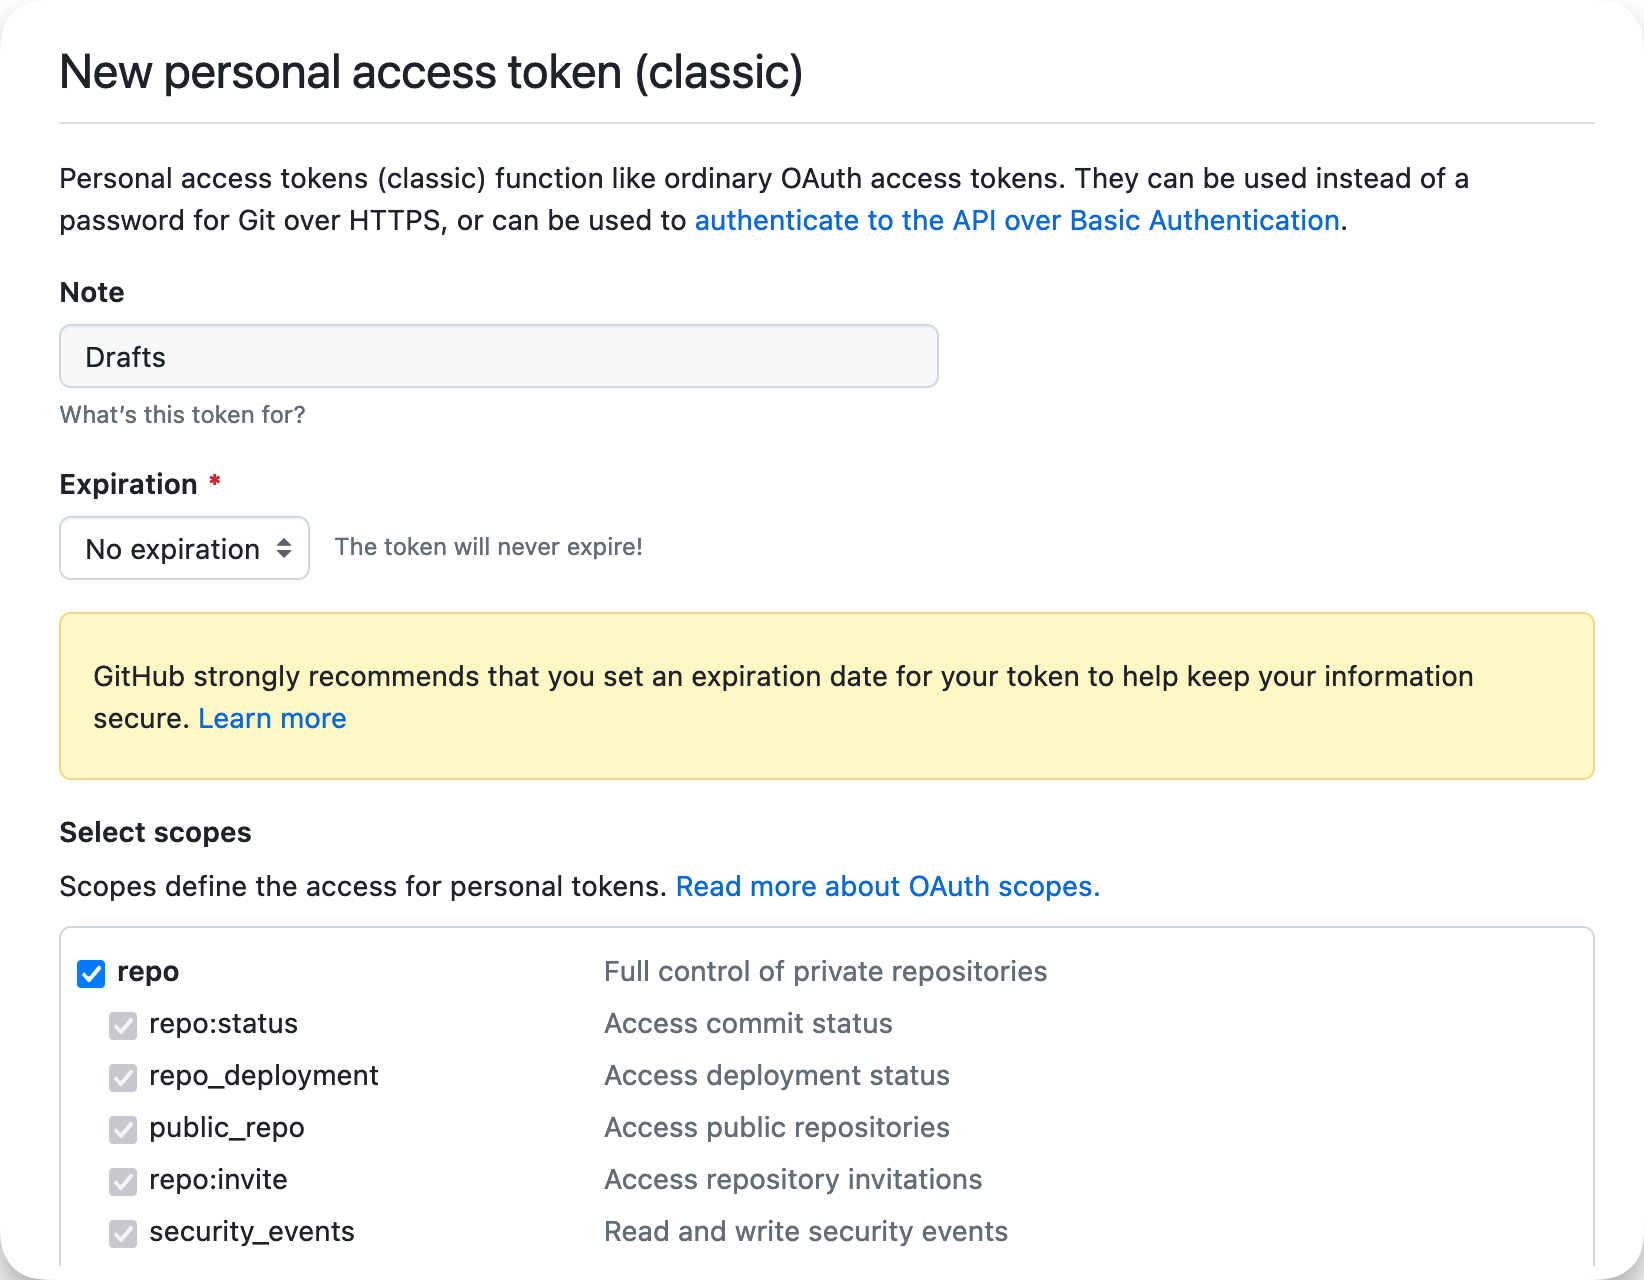
Once created, make sure to note down the token that GitHub provides in a secure location. We'll be using it when we first use the Action from Drafts. You'll only have to enter it once, as Drafts Credential authentication method stores this locally once used.
Next, let's create the Action. In Drafts, tap the sidebar icon on the top right, then tap the + icon, and finally tap New Action
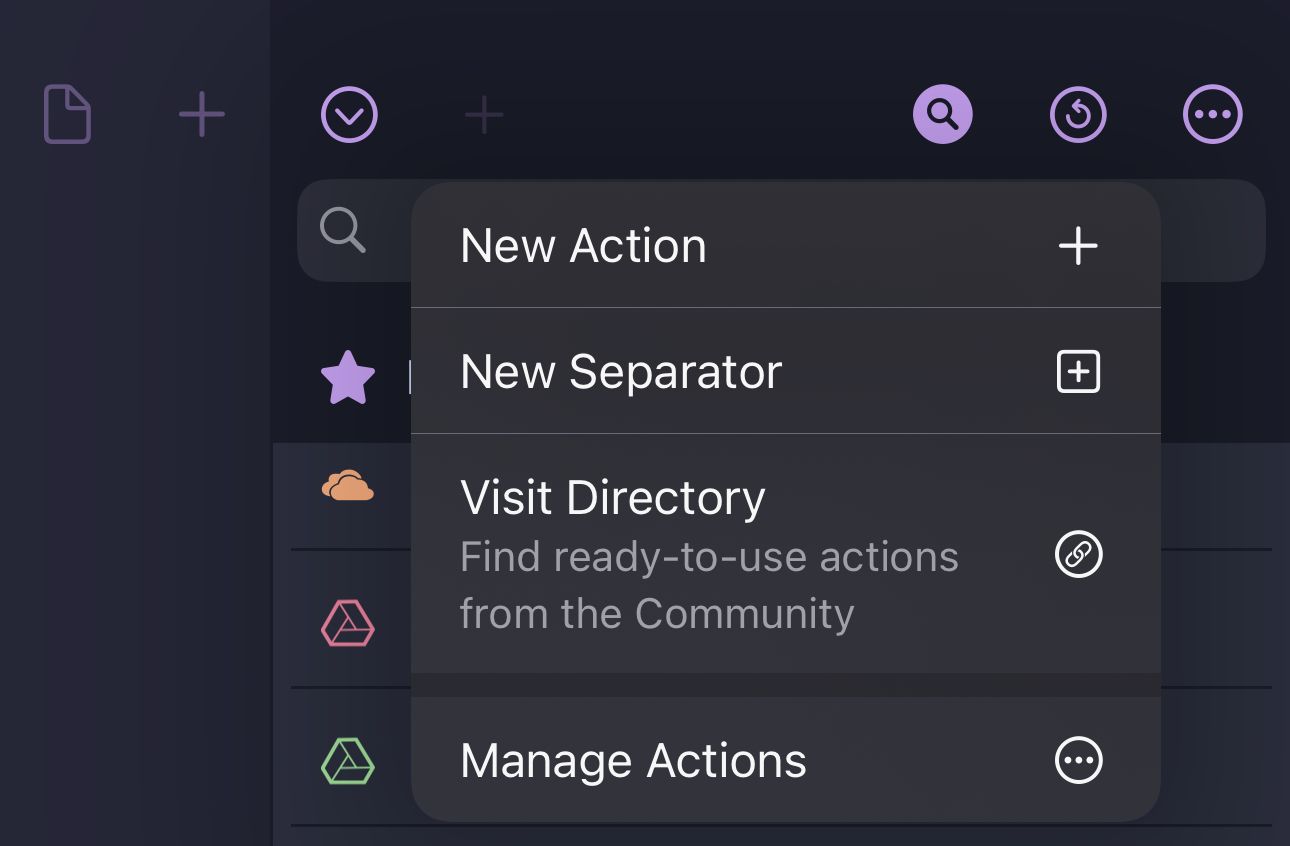
Perform the following steps:
- Name the action under
Identification - Tap
0 steps, then tap+to define a new step. - Search for
Script, and tapScript (Run JavaScript) - Paste the script at the bottom of this article after making the following changes:
- I split spaces with an
_in case there are any special characters. You can adjust this if you want by modifying thefirstLine.replaceline, otherwise leave it as is. ThisfirstLineis used to name the file in theapiRequestPath, and is also the name of the file in Obsidian once synced. - Modify the
apiRequestPathsuch that it points to your Obsidian Vault repo. In my case, my GitHub user istrevware, my repo in GitHub (and Vault name) is namedproductnook, and the sub-folder where I'm storing these Drafts is labelled asrepo.- You must keep
contentsin the path as in the script below, otherwise any note from Drafts will not be written to your repo correctly.
- You must keep
- I split spaces with an
- Tap
Save & Exit. This will add the Action to your sidebar.
Following these steps, it's time to test the Action: Create a new Draft either via the interface or via the widget. You can write anything.
To trigger the action, launch the sidebar, then tap the Action you created– it's likely at the bottom of the default list. On first run, you'll be prompted to use the token you generated earlier from GitHub and you'll only have to enter it once. Once done, you should see a green banner indicating that the push was successful. If not, you can review the error in Draft's own Action Log by tapping on the sidebar, then tapping on the icon that looks like a Refresh button. Tapping on any action from the list of previously used actions will display the log in order for you to troubleshoot what went wrong.
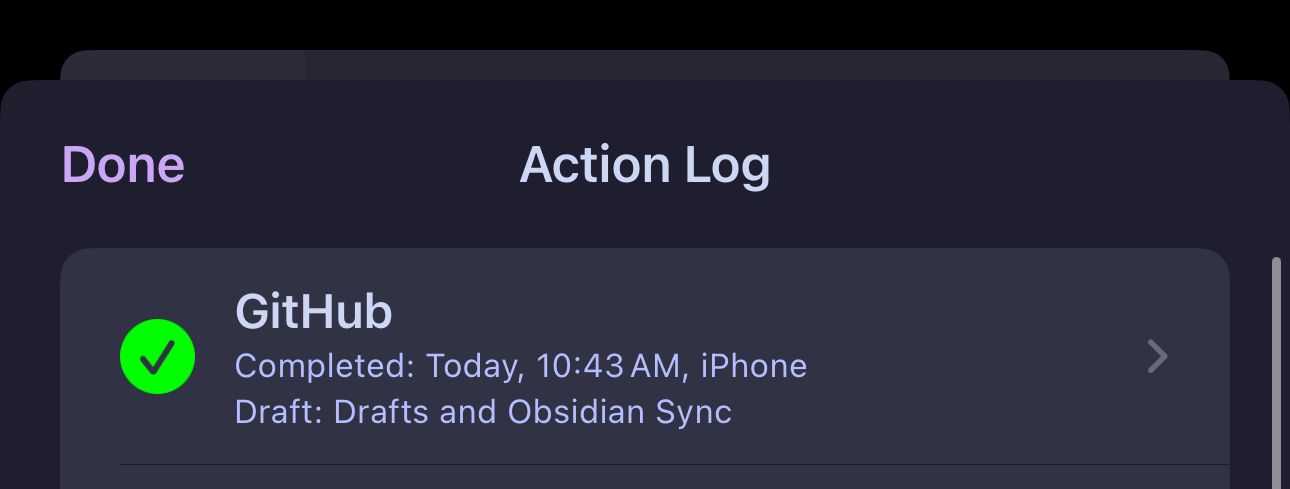
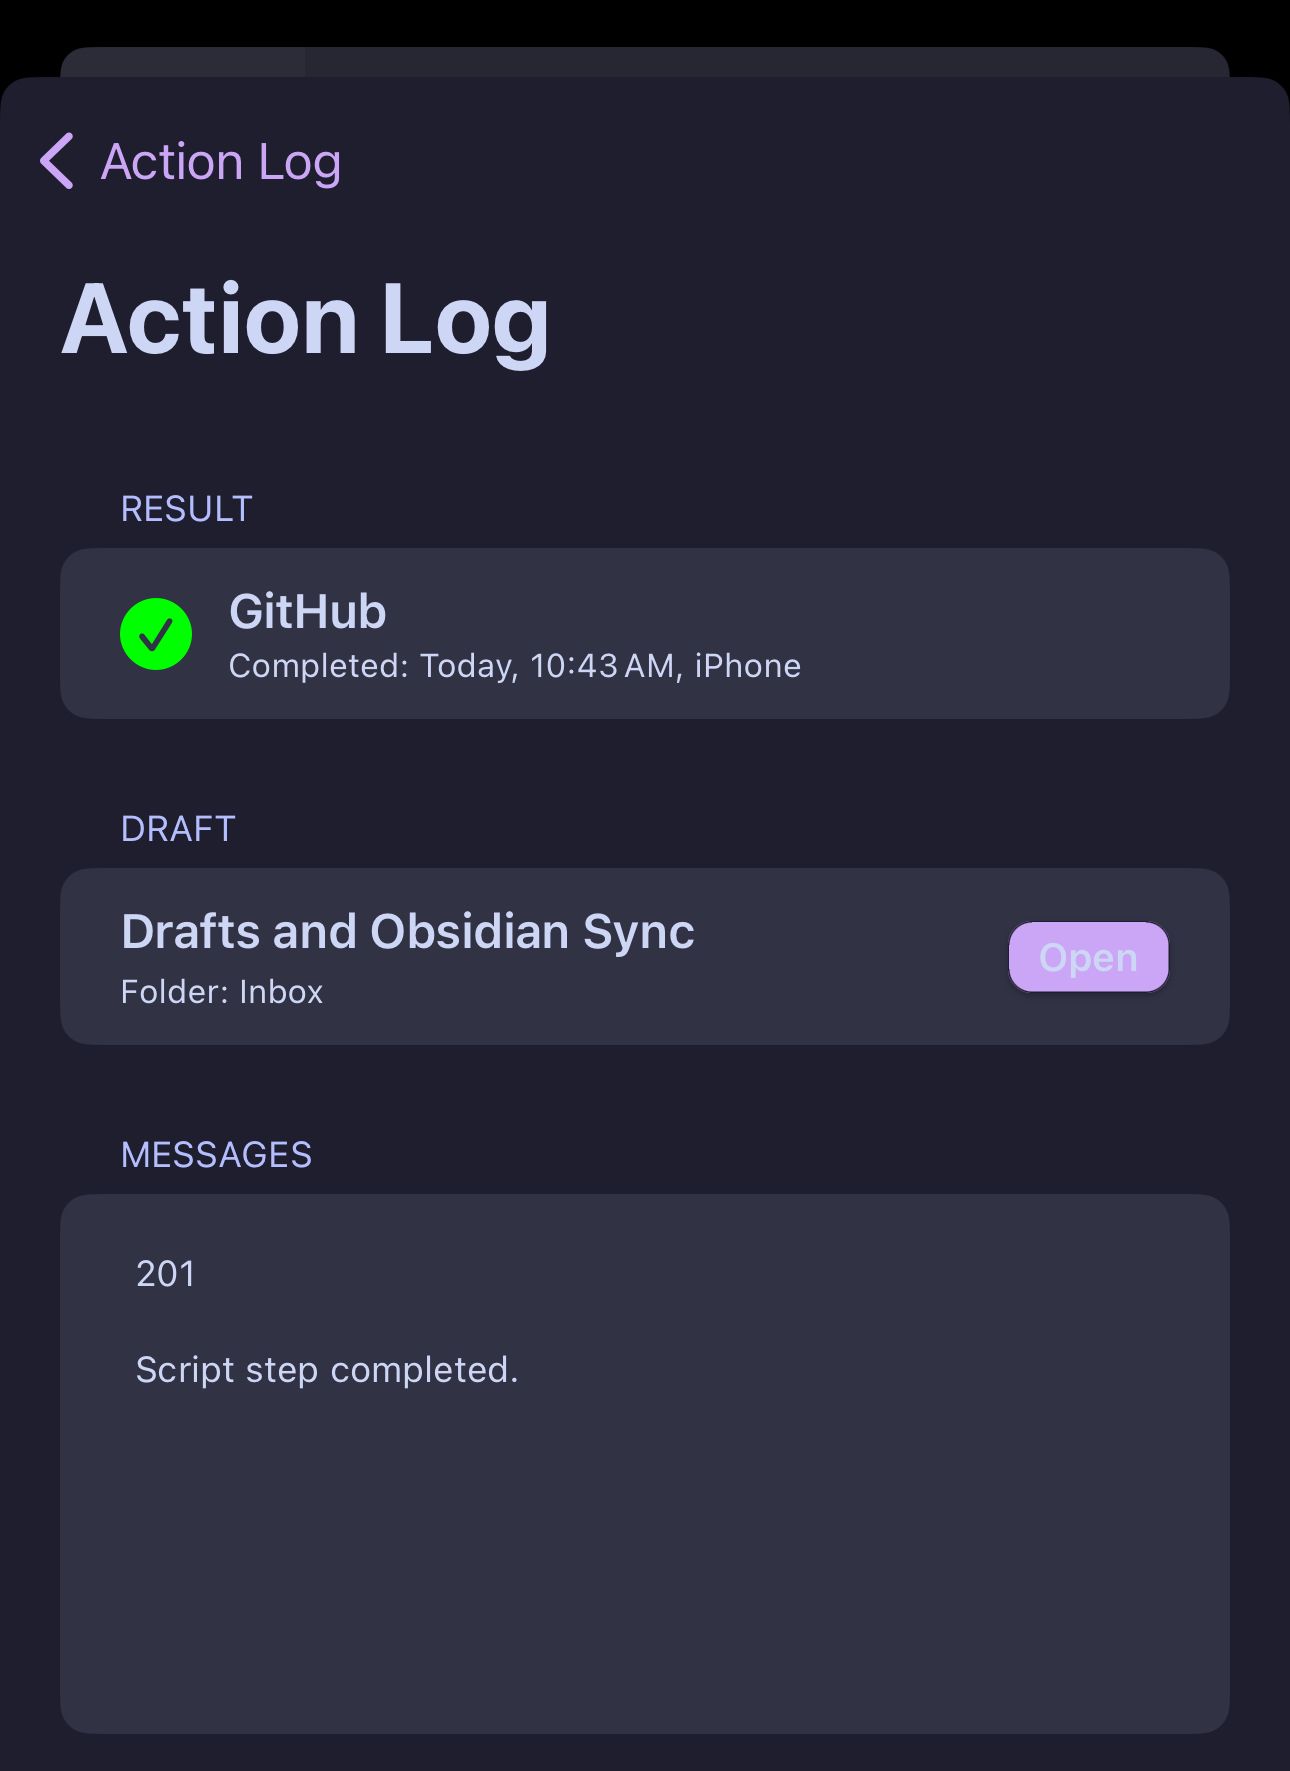
Upon your next GitHub pull into Obsidian, you should now see the corresponding note from Drafts under the path that you specified in apiRequestPath. If you're using Obsidian Git, you can use the Obsidian Git: Pull command to manually perform this action before any sort of automatic sync takes place.
The Script
// Drafts action step: Script
let credential = Credential.create("GitDraft", "API");

credential.addTextField("token", "Token");
credential.authorize();

let http = HTTP.create(); // create HTTP object

let firstLine = draft.content.split("\n")[0]; // get the first line of the draft
firstLine = firstLine.replace(/\s+/g, '_'); // replace spaces with '_'
firstLine = encodeURIComponent(firstLine); // encode special characters

let apiRequestPath = "/repos/trevware/productnook/contents/repo/" + firstLine + ".md";

let response = http.request({
  "url": "https://api.github.com" + apiRequestPath,
  "method": "PUT",
  "data": {
    "message": "commit from Drafts script",
    "content": Base64.encode(draft.content)
  },
  "headers": {
    "Authorization": "token " + credential.getValue("token"),
    "Content-Type": "application/json"
  }
});

if (response.success) {
  console.log("File pushed successfully");
} else {
  console.log(response.statusCode);
  console.log(response.error);
}
Should you have any recommendations or improvements, please share in the comments. This is a simple implementation, and while I don't need anything beyond it at the moment, your thoughts might prove useful to other readers 💪🏻


Discussion