In my perpetual quest to optimize my task management workflow, I quickly ran into the issue of how to handle tasks I wasn't ready to do anything with just yet. The concept of a "Task Inbox", a dumping ground for not yet prioritized tasks (among other things), is discussed frequently in the community. There are many variations, and several solutions. As always, I wanted a system that prioritized simplicity and limited friction points, while minimizing the impact to my existing workflow. With that in mind, I had two core goals for my version:
- Create an
Inboxwhere I could collect my thoughts, feelings, spur of the moment suggestions– anything. I needed to be able to access this quickly on my phone. I also needed to be able to visualize this at a glance while using Obsidian on Desktop. For this, I've made some very minor tweaks to myTask Summary PagesI discussed here of which I'll share some screenshots of down below. - Be able to archive my tasks into a separate log file, which I call
The Archive.
Creating the Inbox
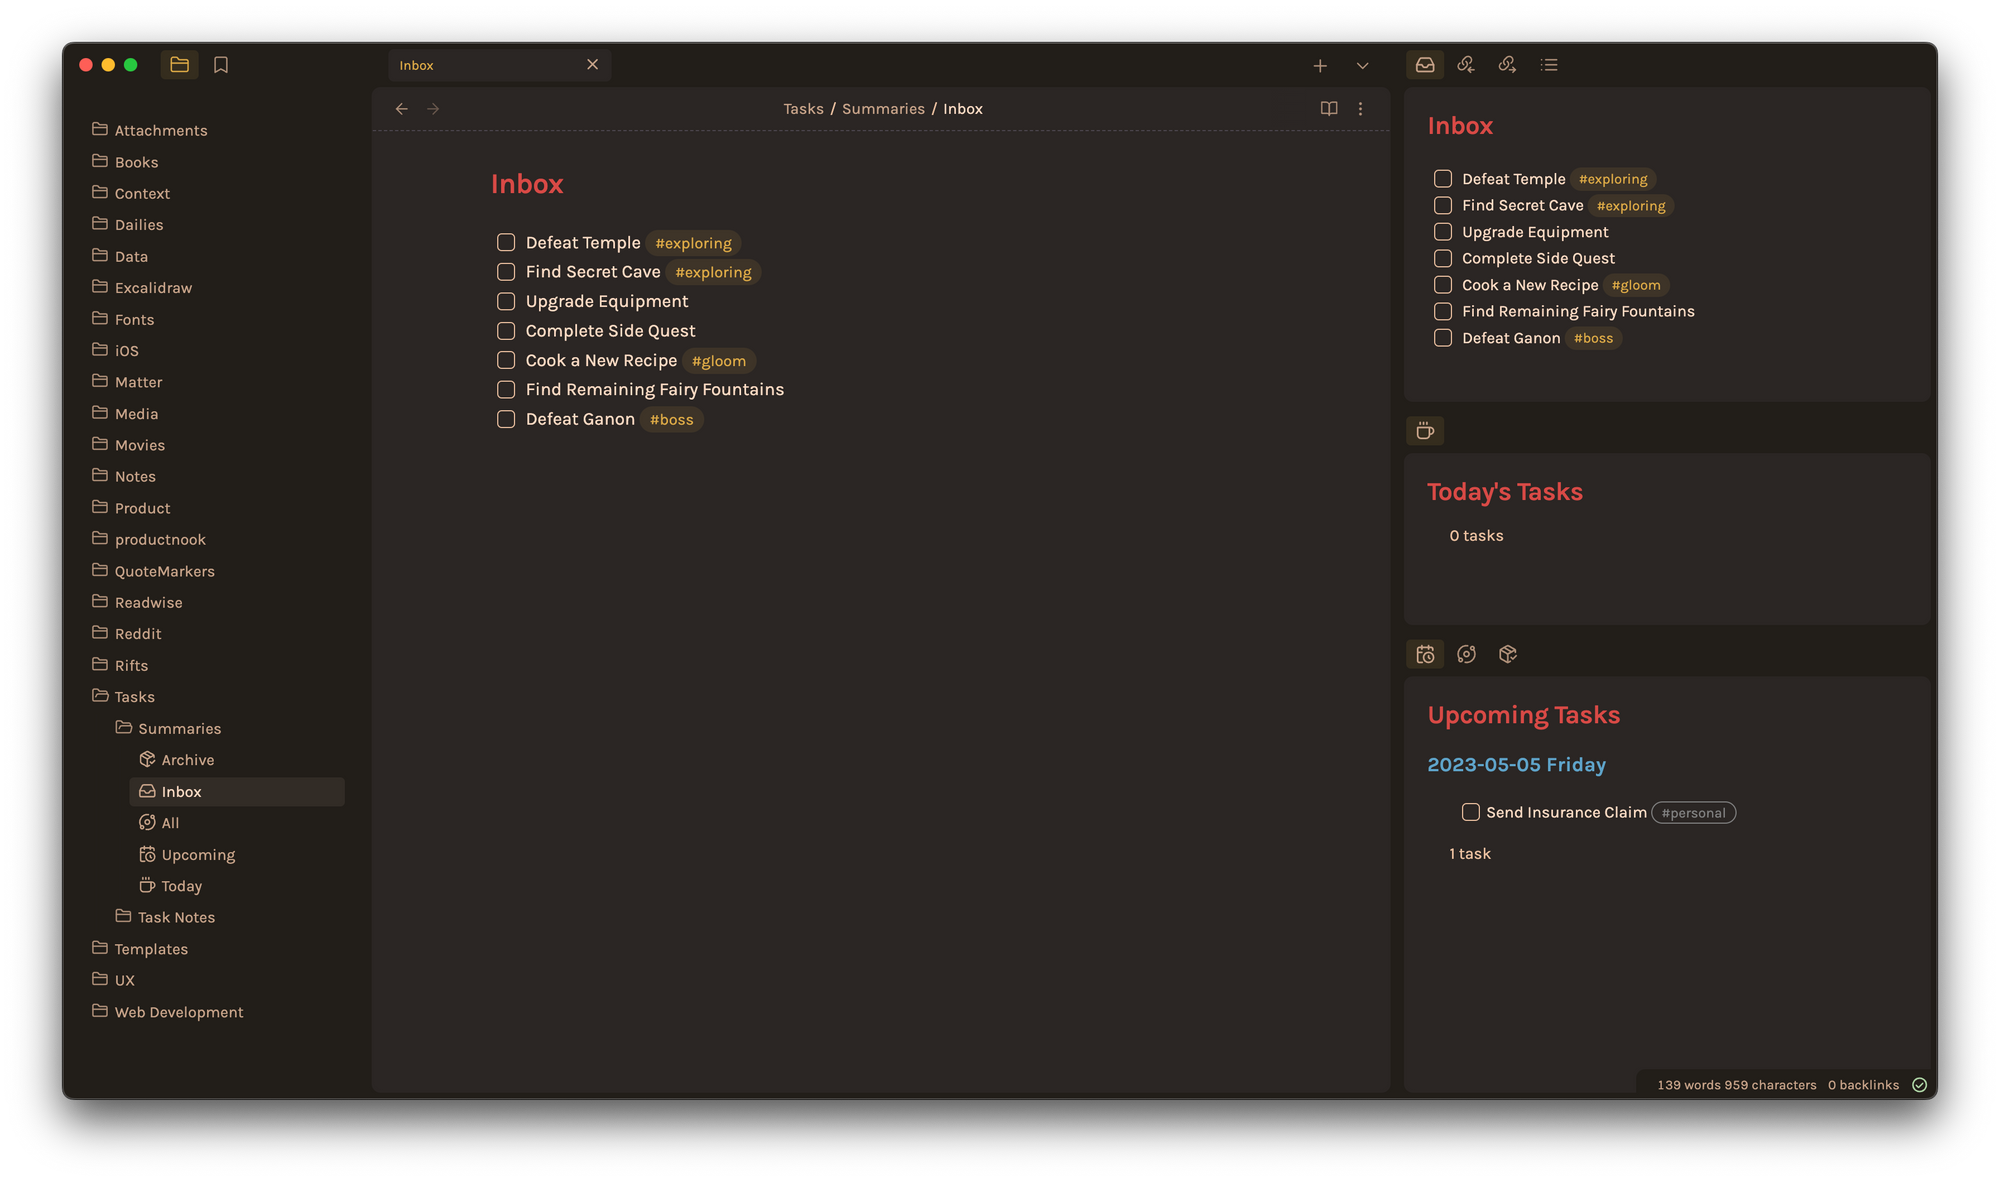
I store all of my Task Summary Pages under Tasks/Summaries. At this point Inbox is just an empty note, so let's add some tasks.

I've also moved each of my Task Summary Pages onto my right sidebar. These are always on display, though you could easily hide them by hiding the entire sidebar, which I've mapped to CMD+R. The top pane shows my Inbox, the middle pane shows Today's Tasks, and the bottom pane allows me to toggle between Upcoming Tasks, All, and the Archive. To achieve this, simply drag each note into the sidebar in whatever order you want.
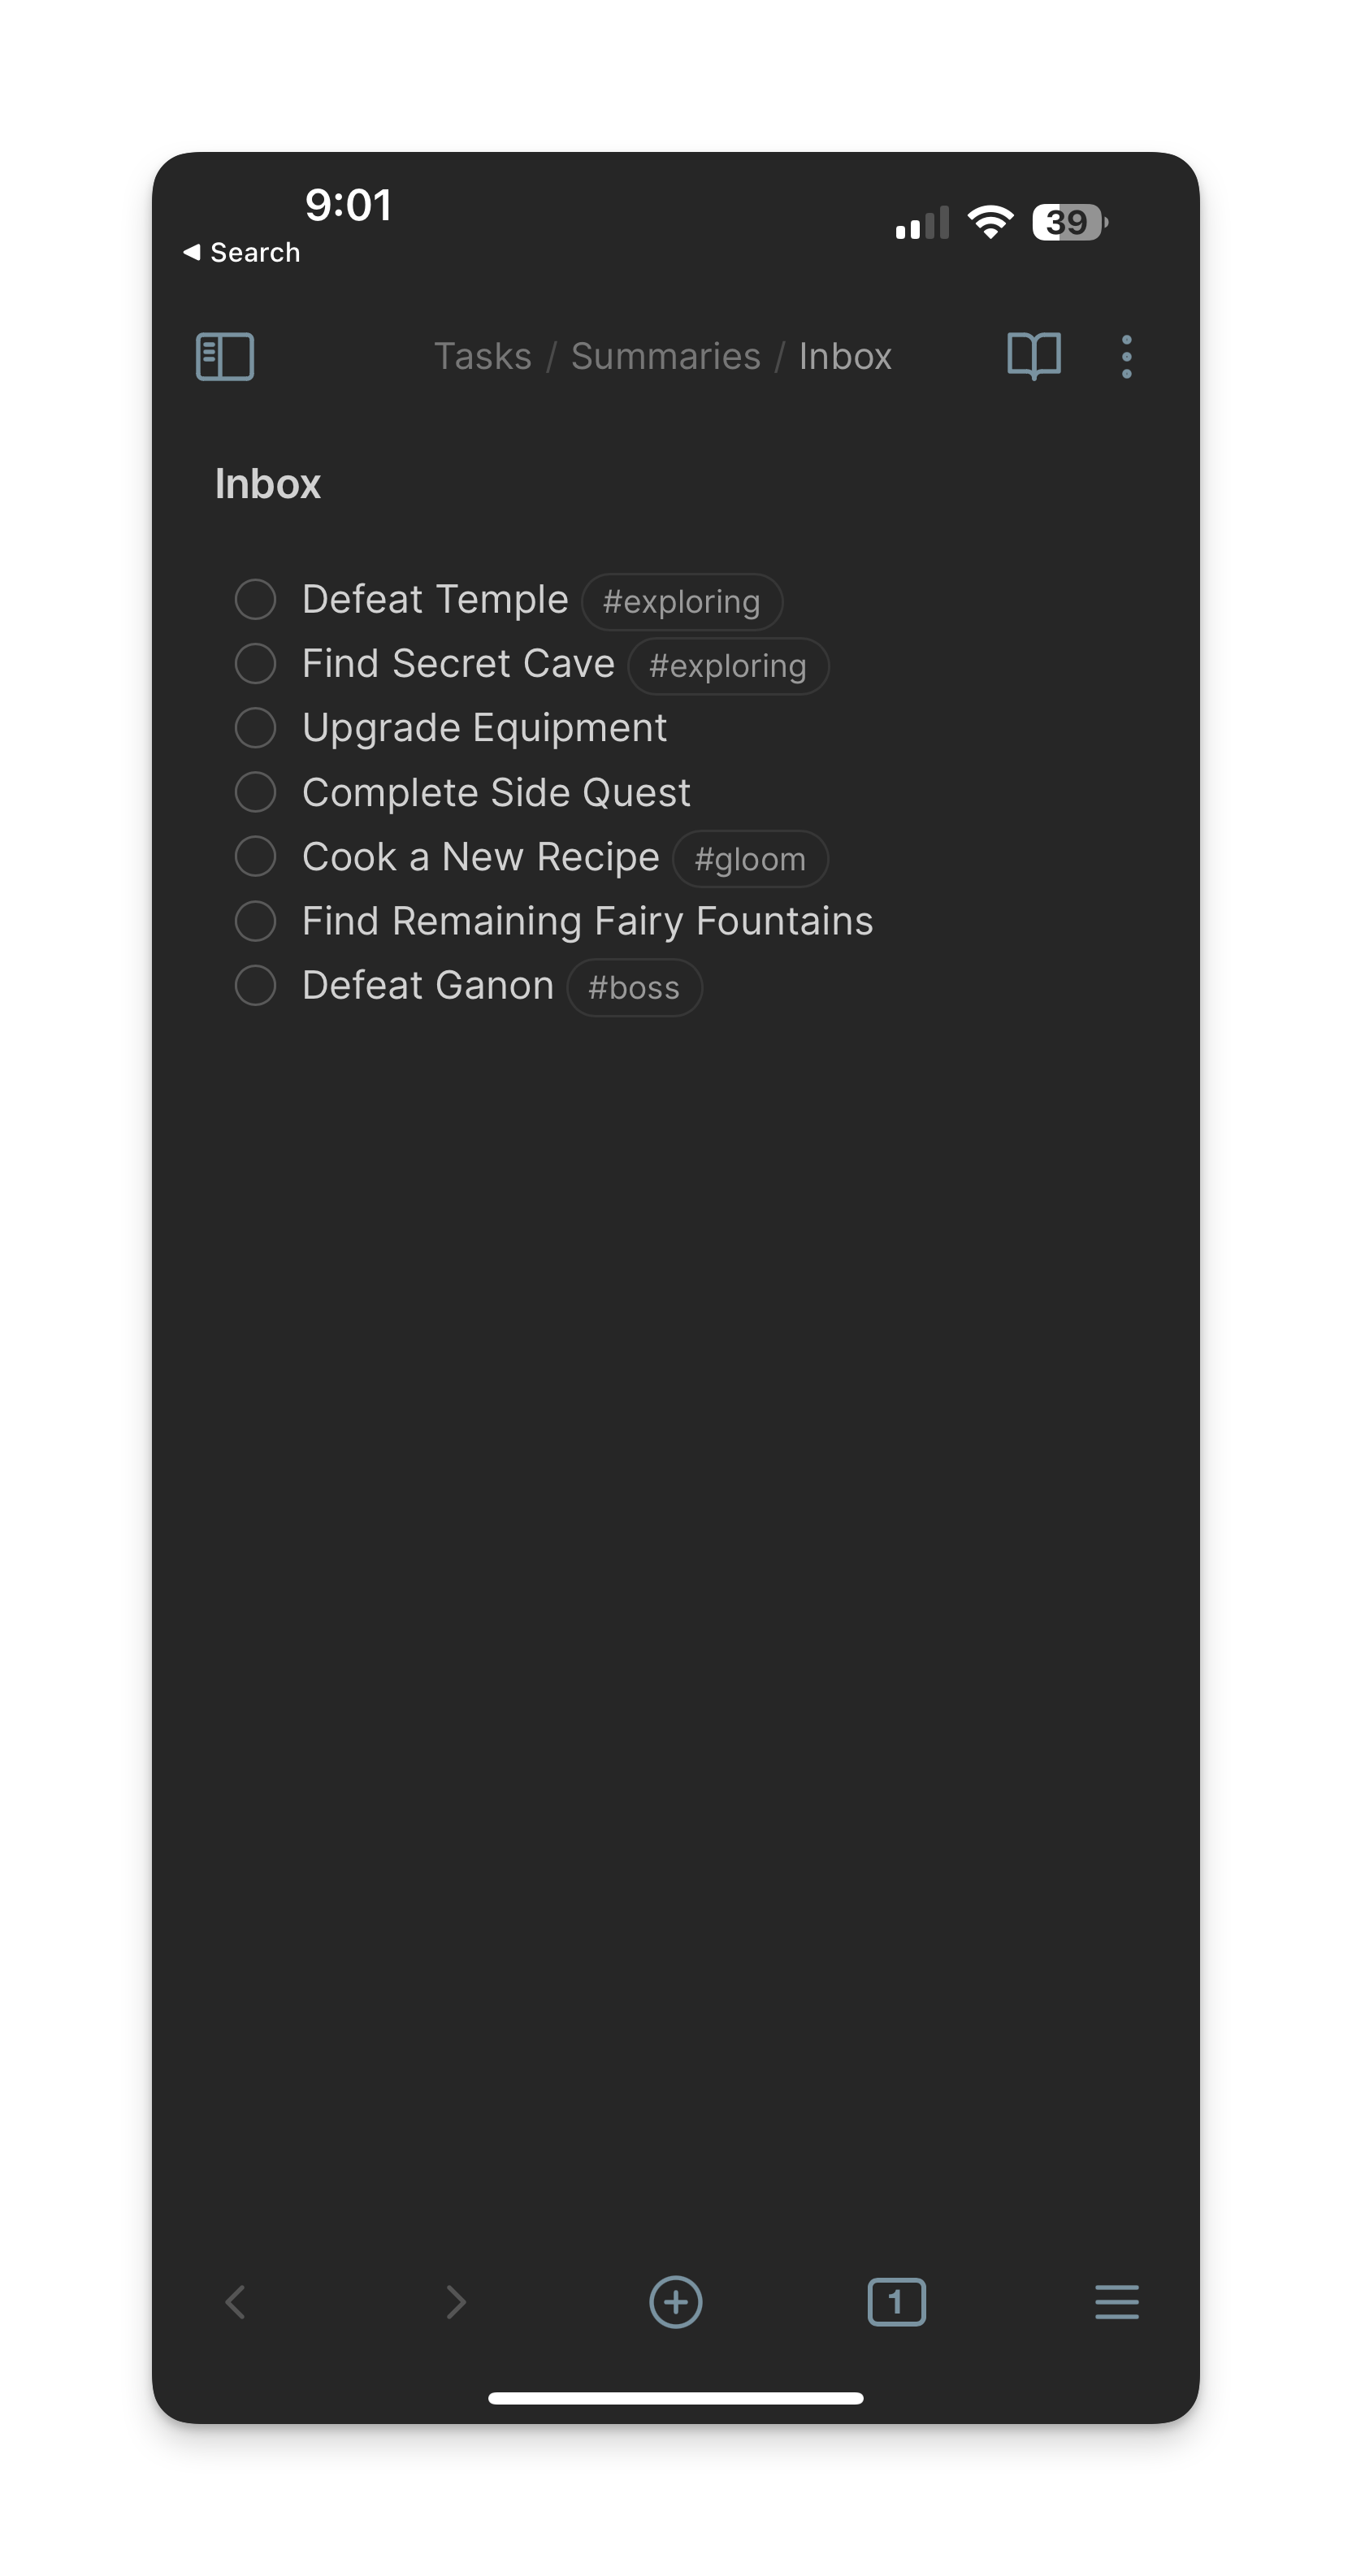
On iPhone, I use Obsidian Mobile to add things to my Inbox. I dabbled with iA Writer and other Markdown apps since they generally performed faster than Obsidian (Obsidian does this weird thing where the UI elements don't actually use the max refresh rate for some reason), but having to open Obsidian every time to sync, even if the sync itself was fast, was too clunky for my workflow.
I've disabled everything except notes to sync using Obsidian Sync to reduce any potential bloat from all of the plugins I have installed, so basically the Inbox is the only thing I ever keep open. I've installed the Minimal Theme and that's about it.

If I'm on-the-go, Obsidian Mobile acts as my quick capture device. On Desktop I just mouse over to the right sidebar to add things. All the while, Obsidian Sync ensures that the risk of data loss is basically zero. It's a simple, straightforward system that achieves what I set out to do. But let's get into the meaty bit, which is how I archive tasks in my Inbox if I'm ever working out of it directly.
Archiving with the Archiver Plugin
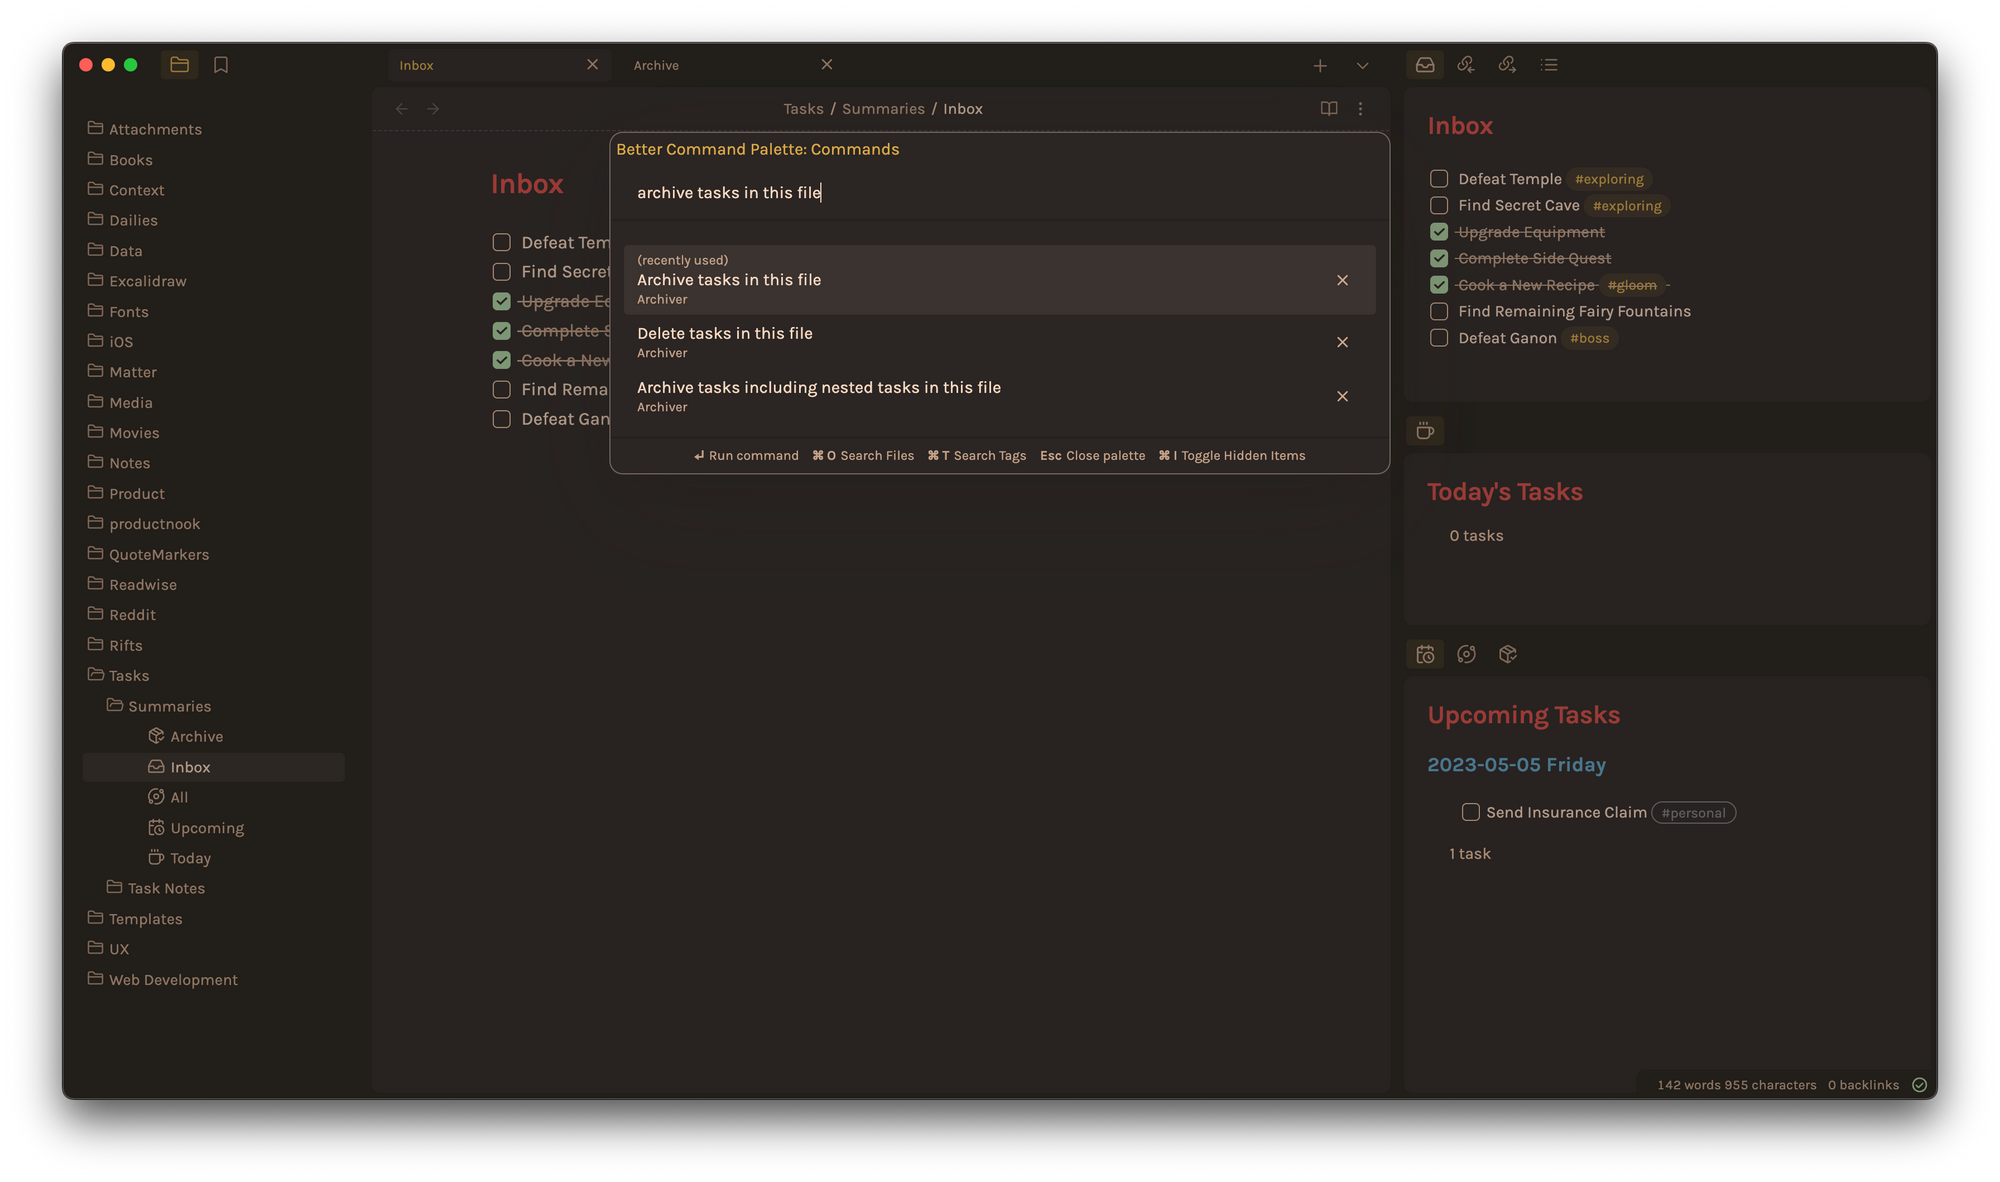
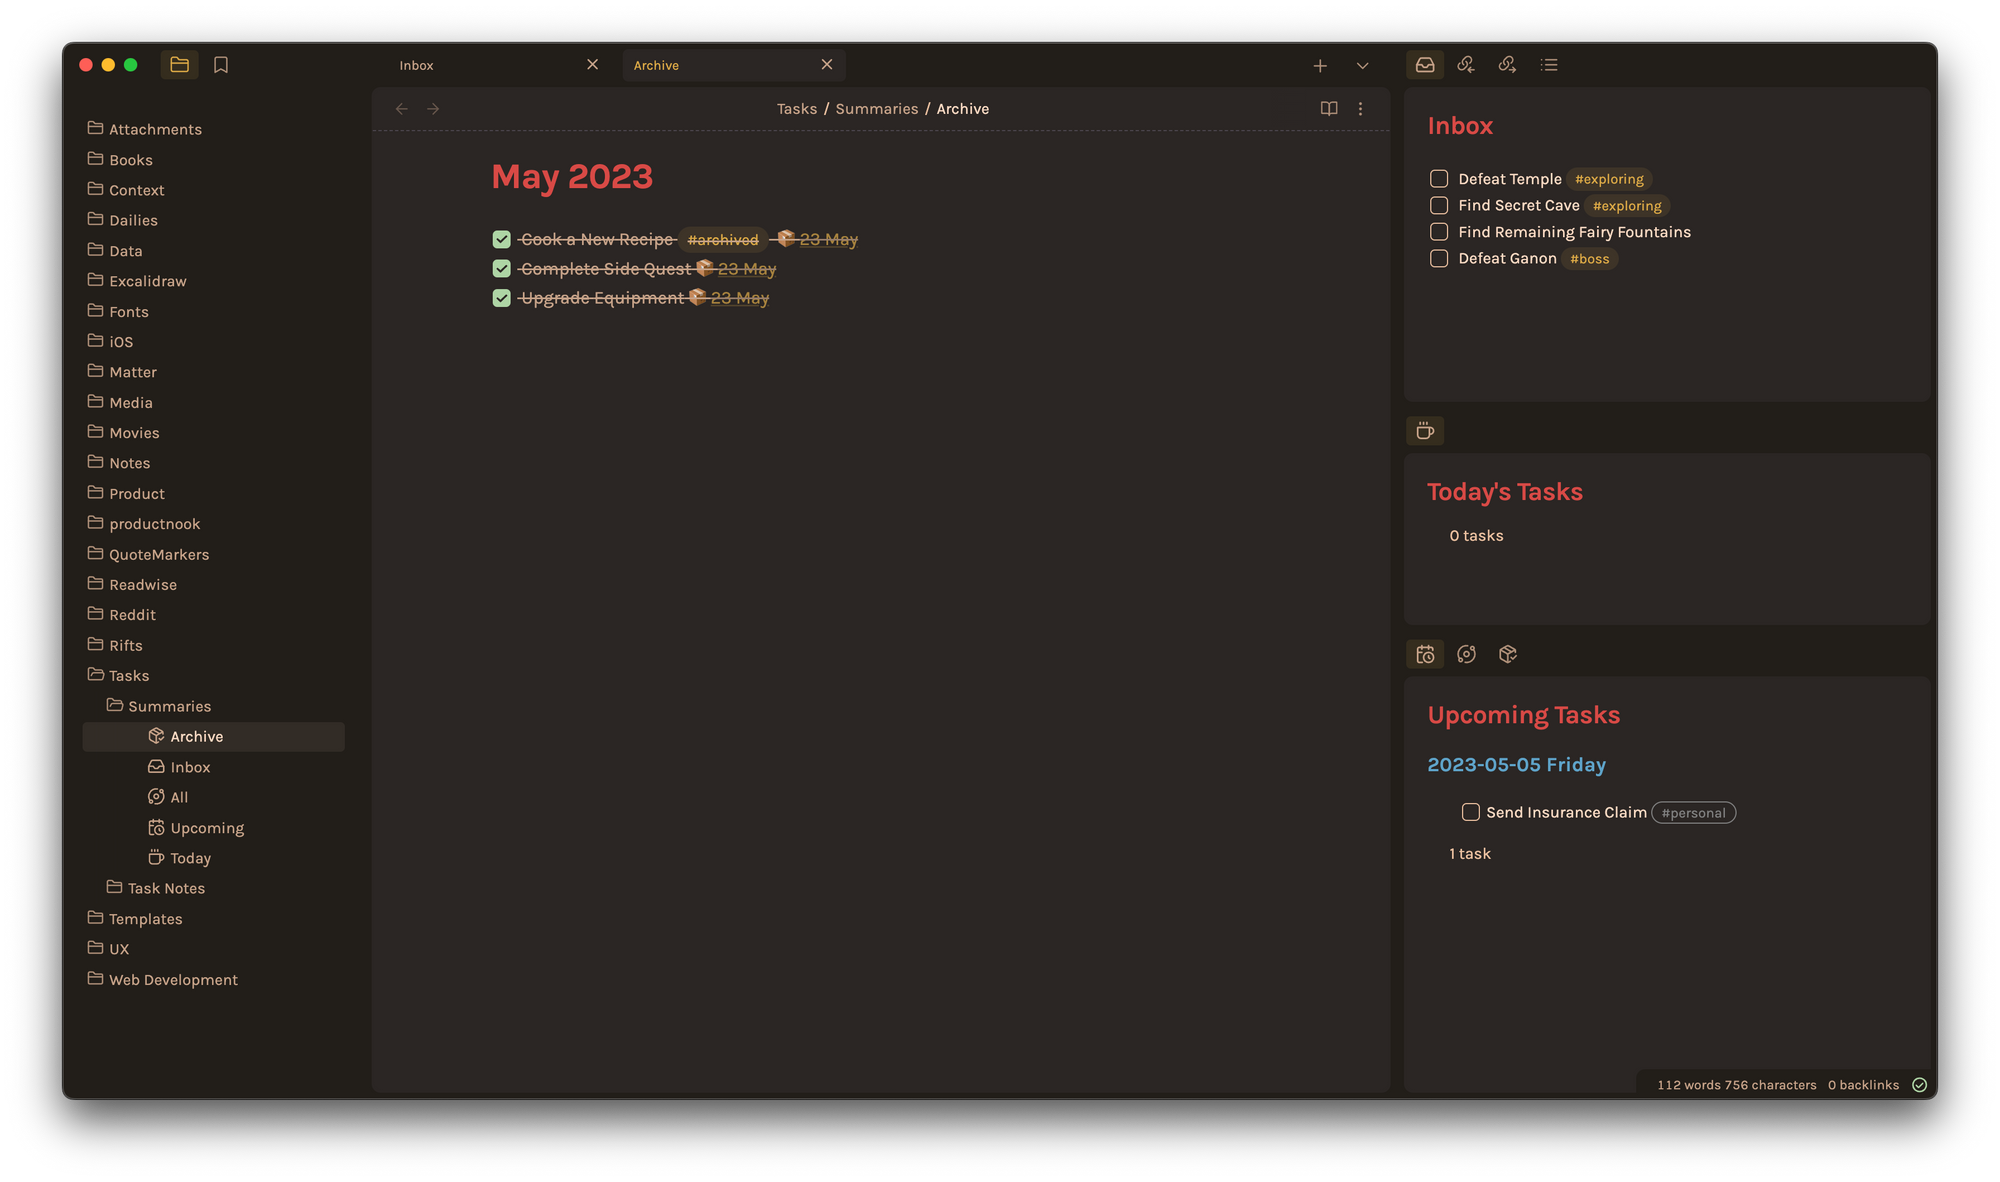
Archiver is an excellent and nifty little plugin from Ivan Lednev. I'll let you read over all of the features it offers on its Github page if you're interested, but for the sake of simplicity I'm only going to cover it's archive functionality and how I've configured it, so go ahead and download the plugin if you'd like to follow along. What we want to accomplish is the following, our original completed tasks removed from the Inbox on the left, with our final output as seen on the right.


Archiving Tasks with the Command Palette and the Resulting Archive Note
Once you've downloaded the plugin and have made sure it's enabled, open the Archiver settings and take a look at what you can do. Here's what I changed to achieve the above:
- Replace some text before archiving: I have this enabled, with the
Replacementset to#archived. This ensures that any#tagthat was originally on the task is replaced with#archived. Unfortunately, this doesn't work with multiple tags despite me tweaking the corresponding regex expression. I'll update this article if it gets fixed. - Archive to a separate file: I have this enabled as well, since I didn't want to bloat the
Inboxnote with the archived tasks being displayed. This is set toTasks/Summaries/Archive. - Archive under headings: I've left mine on
First heading depthonly, with theHeading textset to{{date}}. You can then configure the Date Format variable toMMM YYYYto achieve theMay 2023look in the screenshot above. - Append some metadata to task before archiving: I've set mine to
📦 {{date}}so that it gets appended on archive, with the variable set toD MMMto achieve a clean📦 23 Mayas seen in the screenshot above.
To trigger the actual archive action, you can either bring up the Command Pallette and use the Archive tasks in this file command, or set a hotkey in Obsidian Settings > Hotkeys to do the same.
With that out of the way, you've now got yourself a fully functional task archiver! Let me know what you think in the comments, or give me a shout here or on Mastodon.

